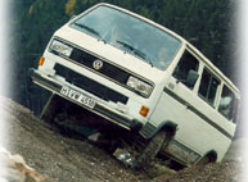
By Tom Carrington
First, jack up and secure the Vanagon so that both front tires are off the ground. Remove the tire from the side with t he bad joint. If you are replacing just the upper joint, do not remove the brake rotor or caliper. It is easy enough to work around the rotor and caliper. By not removing them, the brakes will not need bleeding. Use the combination wrench to remove the large nut from the bottom of the joint.
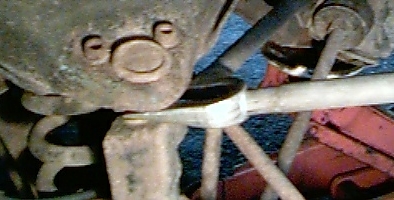
With the lower nut removed, drive the ball joint separator tool between the upper control arm and the steering knuckle. The “pickle fork” destroys the rubber boot on the joint, but does a good job of popping the joint loose. As the tool is driven into the joint, the tool’s taper will force the joint up and out of the steering knuckle. Don’t be timid with the hammer – you will need to hit the pickle fork hard.
After several good thwacks, the joint will pop free and separate from the upper control arm. Next, take some time to clean the accumulated crud from the heads of the 2 allen bolts on top of the joint. Cleaning out the dirt allows the allen wrench to sit deeper in the socket, reducing the chances of stripping the screw head. On my Canadian-raised Vanagon, corrosion had locked the bolts tight. A few minutes of heating with a propane torch helped loosen the bolts enough to remove them without any damage. Once the bolts are out, raise the upper control arm far enough to slide out the joint.

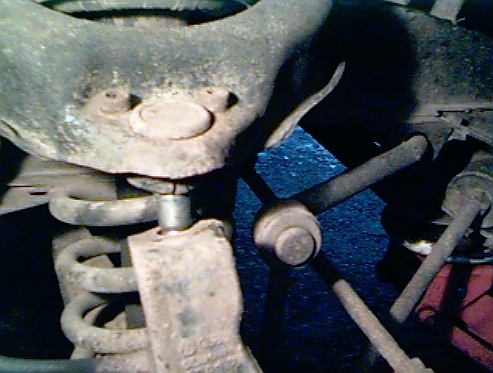
Installing the new joint is even easier than removing the old one. Start by placing the new joint in the upper control arm and loosely installing the upper bolts. Next, guide the shaft of the balljoint through the hole in the steering knuckle, and install the new nut on the joint. Tighten the nut securely. The Bentley manual specifies 80 ft-lbs of torque, but I was not able to sneak a torque wrench in the tight confines, so I guessed it. The upper screws get torqued to 44 ft-lbs. The upper joint replacement shouldn’t affect your front end alignment, so once all is secure, re-install the tire and take a spin!